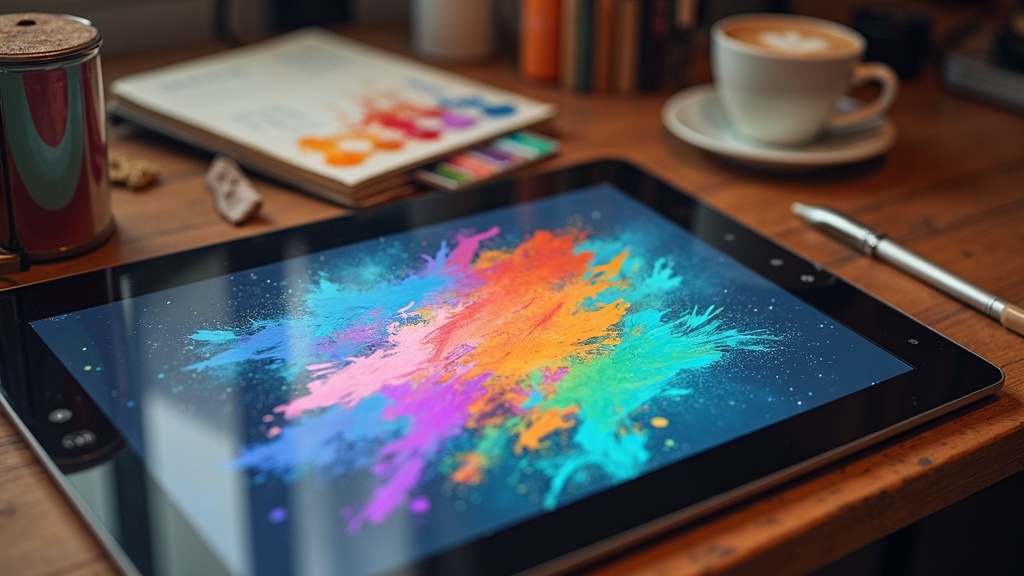
If you’re starting out in digital painting, picking the right brushes can make a big difference. With so many brush sets and cool effects out there, it’s normal to feel a little overwhelmed. I’ve put together some practical tips and my go-to beginner brushes to help anyone ease into painting, whether you’re sketching, shading, or building up color in your favorite drawing app.
Why Brush Choice Matters for Beginners
Brushes aren’t just about pretty shapes or textures—they impact everything from strokes to blending and even your confidence as you paint digitally. If you’re new, it’s best to skip the hunt for huge brush packs and learn the basics first. In every major art program (Photoshop, Procreate, Krita, Clip Studio Paint, and so on) you’ll find default brushes that cover almost anything you’ll want to try early on. Getting a handle on those gives you a solid base and helps build your technique much faster than bouncing between dozens of options.
From my own experience, focusing on a small set makes each session less stressful and helps build muscle memory. Learning what each brush does—how hard you have to press, what happens when you shade, or how the blending feels—teaches you a lot about the tools and yourself as an artist. As you keep going, noticing the unique marks and effects from each brush lets you explore your style further and find your artistic voice.
The Best Basic Brush Types for Digital Art Beginners
Digital art programs come packed with a few basic brushes. Here’s a quick rundown of the ones every beginner should get to know:
- Hard Round Brush: Super versatile for sketching, inking, and filling in shapes. Can handle a lot just by playing with size and opacity.
- Soft Round Brush: Good for blending, shading, and building up tone gradually. Helps with smooth gradients and painting skin or skies.
- Textured or Grainy Brush: Adds a little grit for more traditional looking strokes. Worth exploring if you want a painterly vibe or dry media effect.
- Flat or Chisel Brush: Great for blocking in big areas of color or creating sharp edges. Also handy for quick painterly gestures.
- Eraser (with Hard or Soft Setting): Using the eraser brush to refine edges or lighten areas is a simple but important tool.
Trying these out before downloading anything fancy really helps you build confidence with painting software. In fact, many professional artists use only the hard round and soft round for a lot of their work, and their results look next-level cool. When starting, focus on what you can create with these handful of choices rather than getting caught up in the idea that more brushes means better artwork.
Tips for Choosing and Using Brushes as a Beginner
A few simple tips helped me a lot when I was new to digital painting, and I hear the same from other artists all the time:
- Stick to the basics: Learn the built-in brushes inside out before looking for new ones. Mastering the defaults makes it easier to spot what’s missing and what you really need down the road.
- Limit your palette: Use just three to five brushes in a painting session. This keeps things simple and lets you focus more on painting than searching for “the perfect tool.” Over time, you’ll stumble upon favorites and understand which extras you actually use.
- Tweak brush settings: Play with brush size, opacity, flow, and softness or hardness. Even changing one setting on a hard round brush can give it a totally different feel.
- Think about your style: If you like big, textured, impressionistic strokes, look for bristle or dirtlike textures. If you want a clean, comic style, stick with harder edge brushes and avoid grainy tips.
- Practice with each brush: Use one brush to sketch, block in color, and render. Do some quick portraits, landscape studies, or shading exercises. This builds up control and helps you see what each brush is actually good at. Set aside time for little brush experiments to track your progress, too.
Brush Settings That Are Worth Exploring
It’s not always about collecting new brushes; sometimes you can unlock a lot just by tweaking what you already have. Most programs let you mess with these key settings:
- Size Jitter: Makes the brush size change as you press lighter or harder (pressure sensitivity needed).
- Opacity and Flow: Adjust how much paint comes on with each stroke, good for layering colors and building up shadows.
- Spacing: Controls how smooth the line feels. Lower spacing means smoother, higher spacing creates a more textured effect.
- Texture Overlay: Adds subtle grain, a paper effect, or a canvaslike bumpiness. Nice for painterly work and for giving your pieces more character.
- Angle Variation: Changes the direction or slope of your brush tip, handy for calligraphy, rough inking, or stylized effects.
Even if you have only a hard round brush, adjusting settings like these can help you get new looks and much more control without switching brushes every minute. This can save you time and fast-track your learning.
Common Mistakes Beginners Make with Brushes
There are a few things I see nearly every new digital artist trip up on at some point. Don’t worry—they’re easy to fix or avoid:
- Downloading giant fancy brush packs too early. This can get overwhelming, and you probably won’t use most of what you install. Learn your software’s built-ins before you jump into packs or paid options.
- Poor quality or inconsistent brushes. Sometimes free brushes online have jittery, glitchy, or weird pressure sensitivity that makes drawing harder. Stick to default sets or packs from artists you trust.
- Using textured brushes to “fix” problems. Textures are cool, but they won’t help with drawing, shading, or color mistakes. Brush choice should complement your understanding of form, value, and light.
- Switching brushes constantly. Every time you grab a different brush for a new section, you have to readjust. Try to finish big chunks with the same few brushes to keep consistency and build muscle memory.
Recommended Beginner Brush Packs (By Program)
Once you’re comfortable with the basics, a few brush sets are worth adding to your toolkit. Here are some free and paid ones that users love and that I’ve found super useful:
- Photoshop: The Kyle T. Webster brushes come free with CC membership, and the default ones are underrated gems. If you want something different, IBYN’s Free Beginners’ Pack covers a lot of ground.
- Procreate: Check out the basic “pencil” and “acrylic” brushes; these work for sketching and painting. For something extra, Bardot Brush has great beginner kits tailored for digital painters.
- Krita: Krita’s default brush set is really solid, with everything from pencils to textured paint brushes. Once you want variety, try David Revoy’s free brush bundle.
- Clip Studio Paint: Manga and comic artists swear by the default pen and marker tools. The program’s assets marketplace also has loads of highly rated, free starter sets.
I like trying a few new brushes every few months once I have a good grip on my core set; it’s a fun way to add interest without crowding my toolbox.
When To Add More Brushes (and What To Look For)
You’ll know it’s time to download more brushes once the defaults start to feel limiting. For example, when painting fur, foliage, clouds, or gritty textures, a custom brush speeds up the process. Just make sure:
- The brush responds well to pen pressure.
- It doesn’t lag or make odd marks on zoom in or out.
- You can tweak settings if you want to adjust spacing, texture, or behavior.
Check reviews on big art forums (like DeviantArt, ArtStation, or Reddit’s r/digitalpainting) to track down recommendations that match your style and software. Trying out just a few brushes at a time helps keep your digital workspace clean and your mind focused. Remember, sometimes less is more—building a small but powerful brush toolbox can help you concentrate on technique and creativity.
Extra Tips and Best Practices for New Digital Painters
Here are a few habits that helped me improve faster and enjoy digital painting more:
- Do short speedpaints or daily sketches with one brush to really get used to it.
- Try painting the same subject with a few different brushes; see how looks and feels change and how you can make each subject your own with small adjustments.
- Take screenshots of your brush settings when you find something that works, so you can recreate it anytime or share with friends online.
- Watch tutorials from artists using only a couple of brushes; most pros don’t use wild custom packs for finished pieces, so there’s no need to load up on extras when just starting.
Remember, the brush is just a tool. The more you play with them, the more you’ll stumble upon what works best for your art style and workflow. Focus on creating and having fun rather than getting every brush out there.
Frequently Asked Questions
What’s the best way to start using digital brushes?
Start with the core brushes in your art program. Get really comfortable with a hard round and soft round by making sketches, basic shapes, and simple paintings. Once you know what feels good and what isn’t working, gradually add a couple of new brushes to try out different textures or effects. Don’t rush; skill comes from repetition, not just new tools.
How do I know if my brush is high quality?
Good brushes feel smooth, respond well to pressure, and don’t make weird marks, even if you zoom in or draw slowly. Brushes from trusted sources or the official program’s default set are usually reliable for beginners.
How often should I download new brushes?
Only grab new brushes when you spot a gap in what you want to create. Testing out too many at once can be confusing and distracting. Get the basics down, then try a few at a time and see how they help your style evolve.
Finding the right brushes and learning to use them is really important for new digital painters. It makes learning smoother and your art process much more fun. Keep things simple at first, play with the settings, and let your skills—and your brush toolbox—grow together. Wrapping up, remember to stay curious and be patient with yourself. Digital art tools are there to help you bring your creativity to life, step by step.
This is such a thoughtful and practical guide for beginners diving into digital painting! I really like how you emphasized starting with the basics instead of chasing endless brush packs. It’s easy to get distracted by fancy tools, but mastering the hard round and soft round first really does build a strong foundation. I also appreciate the reminder that brush settings—like opacity, flow, and spacing—can completely transform even a simple default brush. That tip alone can save new artists a lot of frustration. The breakdown of essential brush types makes things super approachable, and I agree that limiting your toolkit early on helps with confidence and consistency. This post strikes a great balance between technical advice and encouragement—perfect for anyone just beginning their creative journey!
Thank you so much.