Most advice on the best drawing tablets for professional digital artists is a ranked list of models, and those lists go out of date within a season or two. A better method is to learn what to test, then run the same tests on any tablet you are considering. Three things decide whether a tablet works for daily painting: how the pen’s pressure feels across a soft-to-hard stroke, whether the display shows colour you can trust for client work, and how well the device fits your studio setup of shortcuts, cables and software.
This guide covers the three tablet types, how to test each of those three things with real painting, and what to do in the return window. It ends with a checklist you can copy. It leaves out software, brushes and layers, which have their own articles on this site.
Pen display, pen tablet or standalone: which type suits the way you paint
The three types differ in where the image appears and where the computer lives.
A pen display has a screen you draw on directly. It connects to a computer, which does the processing and runs your painting software. You see the brush mark appear under the pen tip, and that is the closest match to painting on a canvas or paper. The cost is desk space, cables, and a screen whose colour quality varies widely between models.
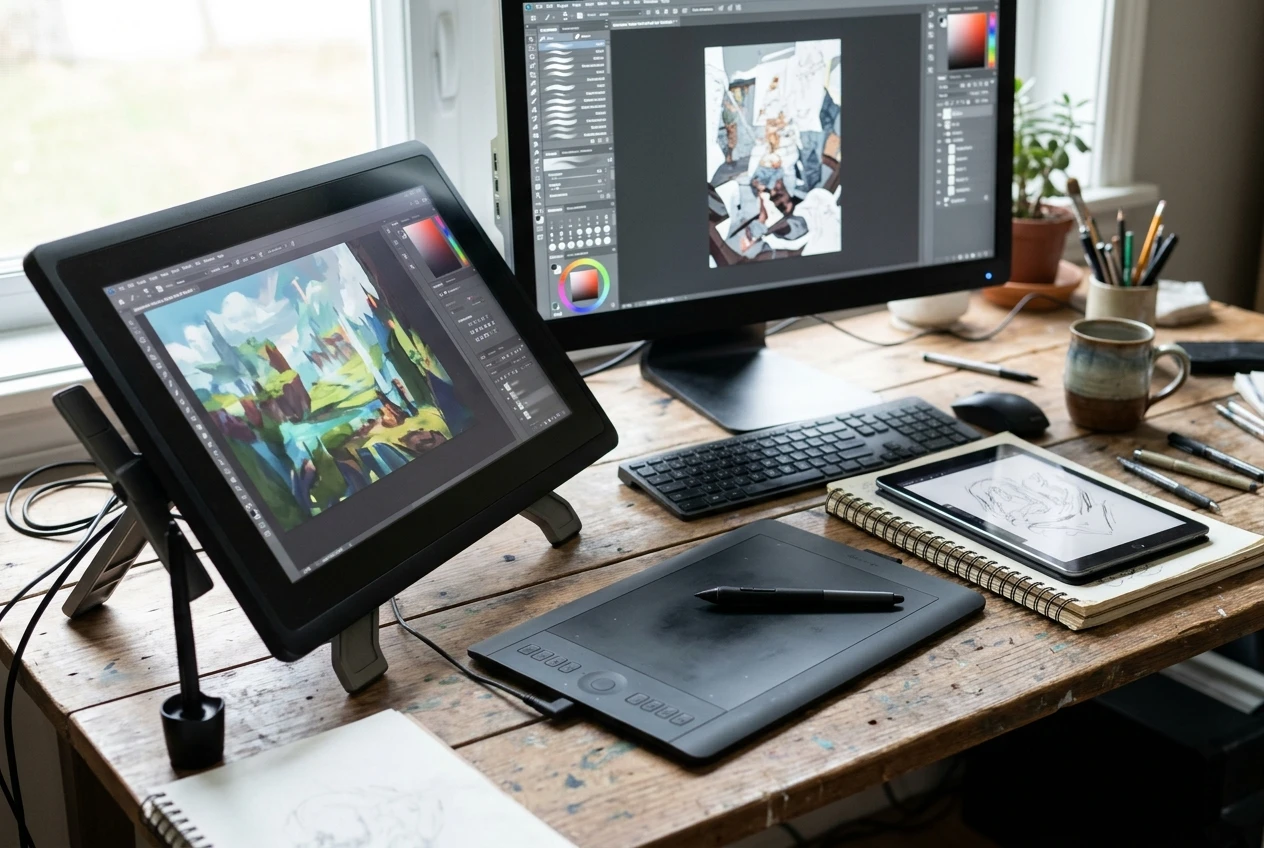
A pen tablet has no screen. You draw on a flat surface while looking at your regular monitor. It takes up less room, and it lets you keep a large, well-calibrated monitor as your colour reference. The hand-eye separation takes a few weeks to get used to. Some painters never fully adjust, and for those painters the type is the wrong choice regardless of price.
A standalone tablet runs its own operating system and its own apps, so it needs no computer. It suits painters who work in several places, or who sketch and paint away from a desk. The limits are the software you can run and how much memory your largest files need. Check that your key programs, plugins and file formats work on the device before you commit. If your finished files are very large, a standalone tablet may slow down well before a desktop does.
Choose by how you spend most of your painting hours:
- If you paint at one desk and want the most direct feel, a pen display is the natural fit.
- If you paint at one desk, care most about colour and have a good monitor, a pen tablet is worth a serious trial.
- If you paint in several places, or alternate between sketching and finishing, a standalone tablet fits, provided your software runs on it.
Some professionals use two types: a standalone for sketching and a desktop setup for final renders. That works well when your file formats move between the two without conversion problems.
How to test pen pressure and tilt with a real painting stroke, not a squiggle
The usual shop-floor test is a quick scribble. A scribble tells you almost nothing, because you are not repeating the stroke you make in a painting. Test with the work you actually do, using your own brushes where you can.
The soft-to-hard stroke
Draw one long stroke that starts at the lightest touch the pen can register and ends at full pressure. Do it slowly, then quickly. A good result is a smooth, even change in width or opacity, with no sudden jump partway along the line.
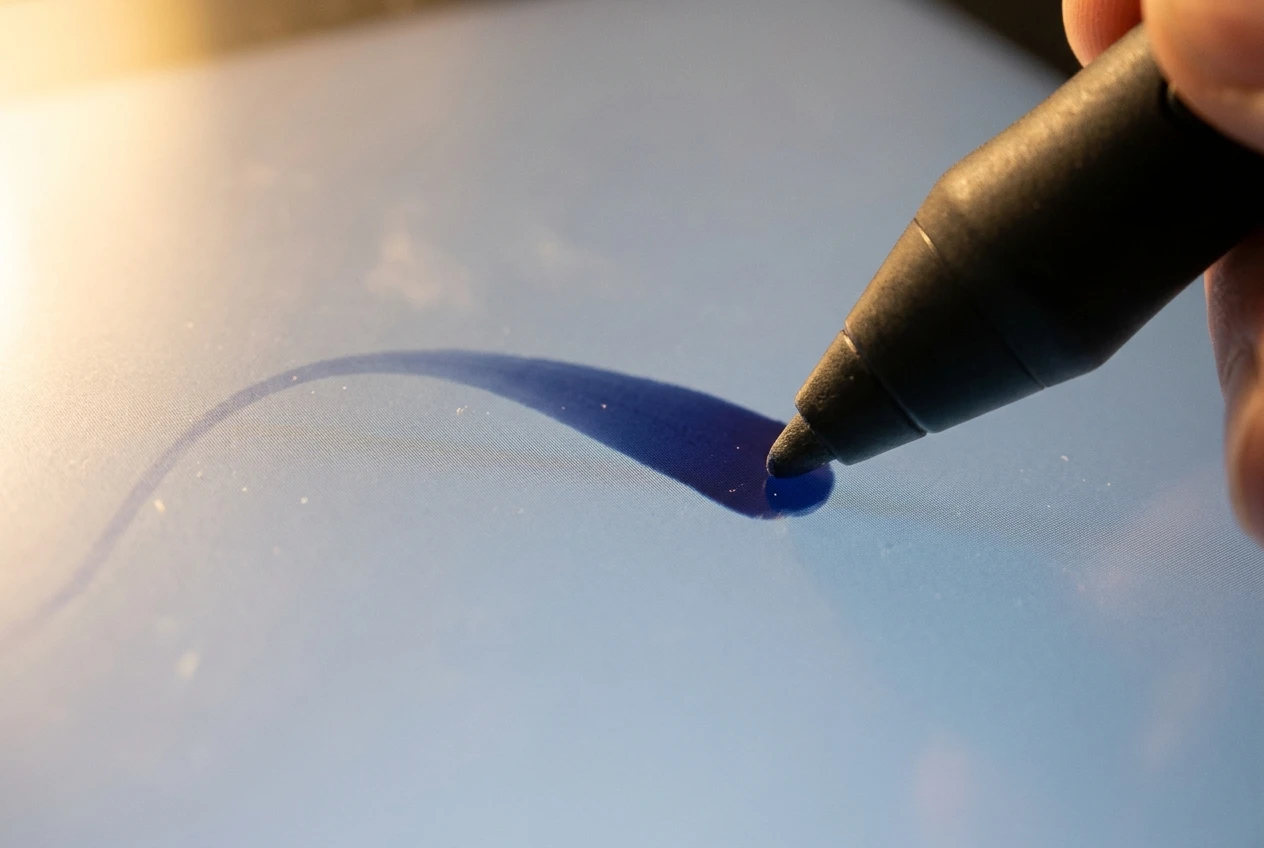
Watch for these problems:
- Delayed start. The line begins only after you press harder than you expected. This is the initial activation force, and it matters for fine edges and for light glazing.
- A step in the line. The mark jumps from thin to thick instead of growing. This shows up most in soft brushes.
- A ceiling. You press harder and nothing changes. The pen has reached its maximum earlier than your hand expects.
Tilt and side-of-the-pen strokes
If you shade with the side of the pen, as you would with the side of a pencil lead, test it on purpose. Hold the pen at a low angle and lay in a broad tone, then raise it upright and draw a thin line. Not every pen supports tilt, and not every brush responds to it. Check that the tablet reports tilt and that your preferred brush uses it.
Slow lines, corners and hover
Draw a slow diagonal line across the whole active area. Wobble or jitter at slow speeds ruins long contour lines. Then draw a short cross at each corner of the screen or pad. The pen tip and the brush mark should line up everywhere, not only in the centre. Finally, hold the pen just above the surface and check the cursor follows it without lag. If you ink or paint fine edges, hover accuracy affects every stroke.
Adjust before you judge
Open the driver’s pressure curve and move it. A tablet that feels stiff or too sensitive out of the box may feel right after one adjustment. Judge the tablet after you have tuned the curve, since you will tune it in daily use anyway. If you cannot reach a curve that feels natural for both light glazing and heavy painting, treat that as a real finding.
What display accuracy means for painters: colour gamut, calibration and parallax
A painter delivering to clients is making colour decisions on the display, so the display has to be reliable. Three terms cover most of what you need.
Colour gamut
Gamut describes the range of colours a display can show. Manufacturers usually quote coverage of standard colour spaces such as sRGB, Adobe RGB or DCI-P3. For work that ends up on websites, social media and most screens, sRGB coverage is the baseline. If you deliver for print or for wide-gamut video, a wider gamut helps. Match the display to your delivery. A display with a very wide gamut can make you over-saturate work that will be viewed in sRGB if your software is not colour managed.
Coverage figures on a spec sheet are manufacturers’ claims about a typical unit. Treat them as a starting point and confirm on your own unit.
Calibration
Even a good display drifts and varies from one unit to the next. Calibration means measuring the display with a hardware colorimeter and creating a profile so the screen shows colours accurately. Without a colorimeter you are trusting your eyes, and eyes adapt to whatever they look at for hours.
Before buying, find out whether the tablet supports hardware calibration or whether you can calibrate it with a colorimeter you own or can borrow. Once you have the tablet, calibrate it and compare it against a calibrated reference monitor. Open a painting you know well, and one that has already been printed or delivered, and check that blues, skin tones and neutral greys look the way you remember them. A grey ramp is a good test: look for a colour cast in the dark and light ends.
Also check evenness. Fill the screen with mid-grey and look for brighter patches, darker corners or a tint at the edges. A tablet that shows uneven colour will make you adjust a painting for a flaw in the display.
Parallax
Parallax is the gap between the glass surface and the image beneath it. The pen touches the glass, but the image is a fraction of a millimetre below, so the mark can seem to appear slightly away from the tip, especially when you look at the screen from an angle. Displays with the glass bonded to the panel, often called laminated, reduce this. Test it by drawing a fine line while keeping your normal posture. If you feel you need to compensate for an offset, the parallax will tire you over a long session.
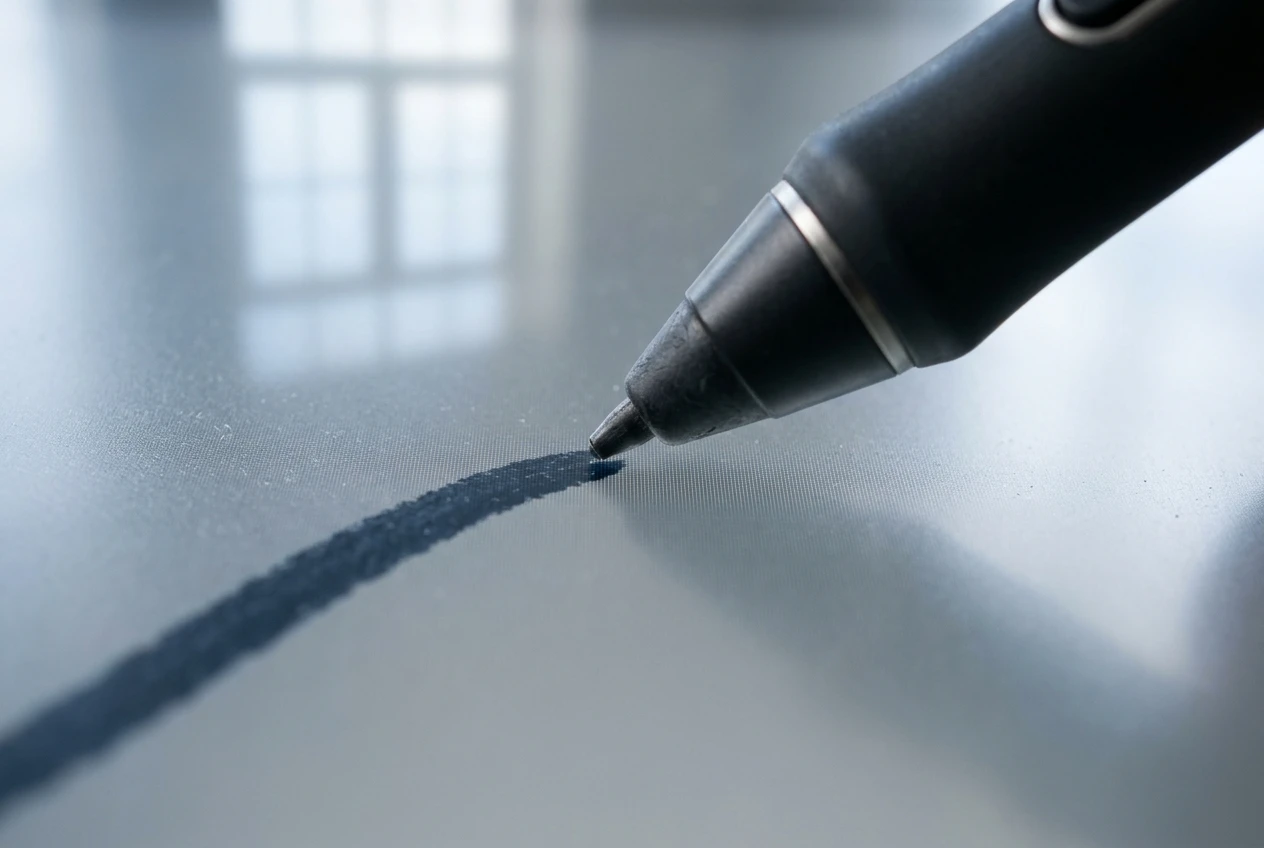
Surface finish also affects colour perception. A glossy screen reflects room light, and an etched anti-glare surface adds grain that can slightly soften fine detail. Put the tablet where you will paint, under your usual lighting, before you decide.
If you rely on accurate colour and the tablet’s display falls short, a pen tablet paired with a good calibrated monitor can give you better colour than a cheaper pen display.
Surface feel, pen weight and the small things that cause hand fatigue over long sessions
Pressure and colour are easy to test in ten minutes. Fatigue shows up after hours, so you need to look for its causes early.
Surface texture. A smooth surface gives little resistance and makes the pen slide, which some painters like for quick gestural work. A textured surface gives more friction and a more paper-like control for careful edges. Neither is correct. Pay attention to whether you grip harder to control the pen on a given surface, because a tight grip is a major cause of hand strain.
Nib type and wear. Nibs wear down, and a worn nib changes the feel and can scratch the surface. Find out which replacement nibs are available, how they feel, and how often you may need them. A tablet whose nibs are hard to get is a long-term nuisance.
Pen weight, balance and diameter. Hold the pen for a full session, not a few strokes. A thin, light pen can make you grip tightly. A heavier pen can tire the fingers. A pen whose weight sits toward the tip or the back changes how it feels at rest. Some pens accept grips of different thickness, which helps if your hand is large or small.
Side buttons. Check where your fingers rest. Accidental clicks while painting are a daily irritation, and you may want to disable or remap those buttons.
Pen power. Some pens need charging or batteries and some do not. A pen that runs flat mid-session interrupts work, so know which kind you are buying.
Size and posture. A large active area makes you move your whole arm, which spreads the effort across your shoulder and elbow. A small area concentrates the motion in the wrist and fingers. Your own working style decides which is better, but a mismatch is a common cause of discomfort. Check the stand or the angle of the device as well. A screen that sits too flat or too upright forces your neck or wrist into a position you will hold for hours.
Take breaks and stretch your hands regularly. If you feel persistent pain, numbness or tingling, see a health professional rather than hoping a new tablet will fix it.
Workflow fit: shortcut keys, driver stability and how a tablet connects to your software and your custom brush sets
A tablet that paints well on its own can still slow you down in your studio.
Shortcut keys and touch controls
Express keys, dials and touch rings put undo, brush size and canvas navigation under your free hand. Count the shortcuts you use constantly, then check that the tablet has enough controls and that you can assign them separately for each application. Test how they feel. Keys that are stiff, too close together or awkwardly placed will not get used. Some painters prefer a separate keypad or keyboard, and it is worth asking whether the tablet’s keys would replace it or merely duplicate it.
Driver stability
The driver is the software that translates your pen into painting software. A good driver is invisible, and a bad one causes lost pressure, lag, or a pen that stops responding after an operating system update. Before buying, look at how recently the manufacturer has updated the driver and whether it supports your operating system version. Read recent user reports for problems after updates. In your trial, restart the computer, sleep and wake it, and unplug the tablet, then check that the pen still behaves the same.
Cables, ports and desk space
Check what connections the tablet needs. Some use a single cable for data, video and power, and others use several, with a separate power adapter. Compare this to the ports on your computer. You may need an adapter or a hub, and an adapter is another thing that can fail. Consider cable length against where your computer sits and how much clutter the cables add to your desk. If you work with two monitors, test how the tablet maps its active area across them and whether you can limit it to one screen.
Software and custom brush sets
Open your main painting program and check that the pen pressure, tilt and shortcuts all work. Then load your own brush set. Brushes are tuned to how a particular pen feels, and a new tablet with a different pressure response can make a trusted brush behave differently. Expect to adjust pressure dynamics in your brushes as well as in the driver. If you want a method for building and tuning a brush set, the post on how to build a custom brush set you’ll actually use covers that side. For where the tablet sits in a full project, the professional digital painting workflow article is useful for deciding which stages need accuracy and which need speed.
A buying checklist and a two-week return-window test plan
Copy this list into a note and fill it in as you test.
Buying checklist
Before you buy
- The type (pen display, pen tablet or standalone) matches where and how I paint.
- My main painting software and file formats are supported.
- I know the retailer’s return window and any restocking conditions.
- I have checked the ports on my computer against the cables the tablet needs.
- Replacement nibs and spare parts are available.
- The manufacturer’s driver is current for my operating system.
- I know whether the pen needs charging or batteries.
Pen feel
- A soft-to-hard stroke changes smoothly with no steps.
- The lightest touch registers without delay.
- Tilt works and my brushes respond to it.
- Slow diagonal lines are smooth, with no jitter.
- The pen tip and the mark line up at all four corners.
Display
- Gamut coverage suits my delivery (web, print or both).
- I can calibrate it with a colorimeter.
- A grey fill is even, with no tint or bright patches.
- Parallax does not make me compensate when I look from my normal posture.
- The surface finish works under my studio lighting.
Comfort and workflow
- The pen is comfortable through a full session.
- Side buttons do not trigger by accident.
- Shortcut keys are reachable and assignable per application.
- The tablet survives restart, sleep and reconnecting.
- The cables fit my desk and the layout is workable.
A two-week test plan
Treat the return window as a working trial. If the window is shorter than two weeks, compress the plan and start immediately.
Days 1 and 2: setup. Install the driver, connect the tablet, set the pressure curve and assign shortcuts. Calibrate the display. Run the stroke tests above and note any problem straight away, because early problems rarely improve.
Days 3 to 5: your own work. Paint something you already know how to paint, using your usual brushes. Compare the result with earlier work. Check how the brushes feel and adjust their pressure dynamics.
Days 6 to 9: a real job. Work on actual client or portfolio work for full sessions. Keep a short note each day on hand comfort, any lag or dropout, and anything you reach for and cannot find.
Days 10 to 12: colour check. Export a finished painting and view it on a calibrated monitor, on your phone and, if you deliver for print, as a proof. Compare it against what you saw on the tablet.
Days 13 and 14: decide. Review your notes. If any item on the checklist failed and you cannot fix it with settings, return the tablet. A flaw you notice in the first two weeks will bother you for years.
Which kind of professional should pick which kind of tablet
Your kind of work points to a type more reliably than any spec comparison does.
Commission and client illustrators who deliver to screens and sometimes print should put colour first. A pen display with a calibrated, laminated screen is a strong choice, as is a pen tablet beside a good monitor.
Concept artists and fast-turnaround painters who iterate quickly benefit from direct drawing and well-placed shortcuts. A pen display with enough physical controls is the usual fit, and a standalone works if their software runs on it.
Painters who work away from the studio or alternate between several locations should look at standalone tablets, and check file size limits and software support before buying.
Painters coming from traditional media often prefer the direct feel of a pen display, and a textured surface that gives some resistance may feel closer to paper or canvas.
Painters with limited desk space or a strong existing monitor should consider a pen tablet. It leaves the screen free for reference images and keeps colour decisions on the display you already trust.
Painters with hand or wrist problems should put pen weight, grip options and active area size at the top of the list, and test them for long periods before the return window ends.
Your best tablet is the one that passes these tests with your hands, your brushes and your files. Download or copy the buying checklist from this article, test your shortlisted tablet against it during the return window, and then read the post on building a custom brush set so your new pen starts with tools tuned to it.